Upgrade PrintUsage Pro from a previous version
Upgrading PrintUsage from a previous version of the software is very easy and simple without risk of data loss. Despite this, it is highly recommended to backup the data and content folders which are located in the PrintUsage install directory. So that in the unlikely event that any problems with the upgrade do arise, this data can be recovered.
- Run the PrintUsage 3.5 installation file on the management or print server you wish to upgrade.
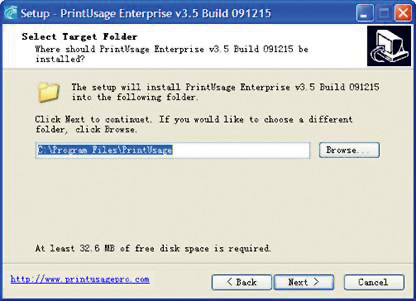
- When selecting the installation folder, make sure that you choose the same folder that the previous version was installed to
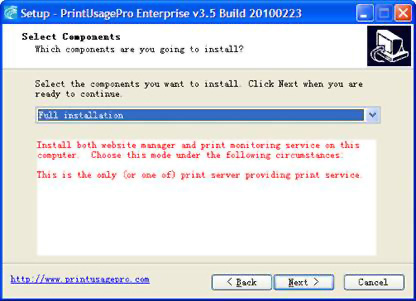
- Likewise when choosing which components to install, choose the same com- ponent package that was installed in the previous version.
- The setup wizard will now automatically uninstall the old version of the software, choose the option to restart your computer to complete this process when prompted.
- The uninstallation will not delete any database or captured print con- tent data. This will be preserved in the PrintUsage installation folder to be used by the new version.
- If you have upgraded a print server this will complete the upgrade process, however if this upgrade is to the management server proceed to the configu- ration wizard.
- Select the “Advanced Mode” in the setup mode screen and enter your new license code in the text field.
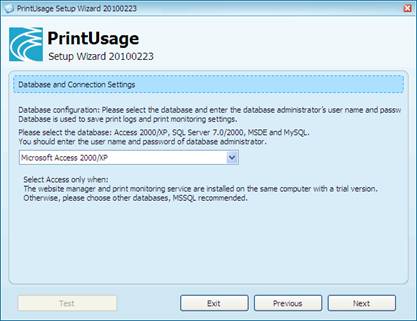
- When asked to choose which database application to use, again ensure that you select the same option that was used in the previous version.
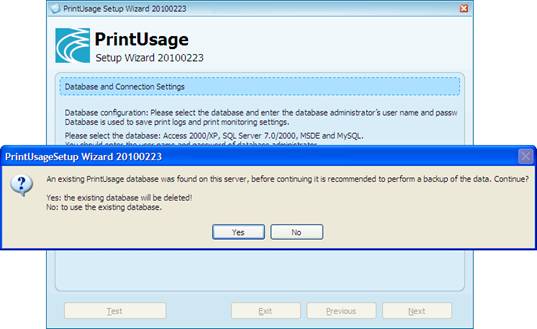
- The wizard will detect that there is already a PrintUsage database installed on this database manager and will ask whether you want to use the existing database or replace it. Choose “No” if you want to use the existing data.
- In the following screens fill the information fields with your preferences and finally click “Finish” to complete the upgrade.